PROJECT DETAILS
CRAFTING THE LIGHT
BEFORE AND AFTER
Transformation made visible.
TOOLS
Equipment List
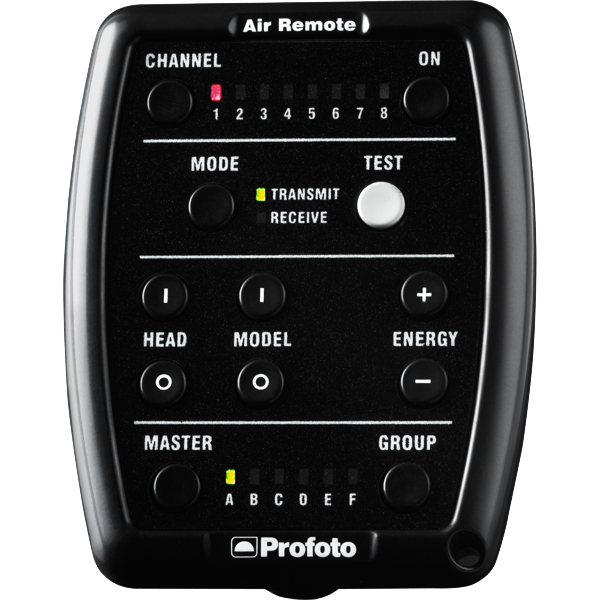
Profoto Air Remote
A wireless transmitter that mounts on the camera’s hot shoe to control Profoto lights remotely. Supports TTL, manual power adjustment, and high-speed sync. Why it’s used: Enables precise, cable-free control of flash settings from the camera position, streamlining workflow and allowing quick lighting adjustments during a shoot.
A wireless transmitter that mounts on the camera’s hot shoe to control Profoto lights remotely. Supports TTL, manual power adjustment, and high-speed sync. Why it’s used: Enables precise, cable-free control of flash settings from the camera position, streamlining workflow and allowing quick lighting adjustments during a shoot.
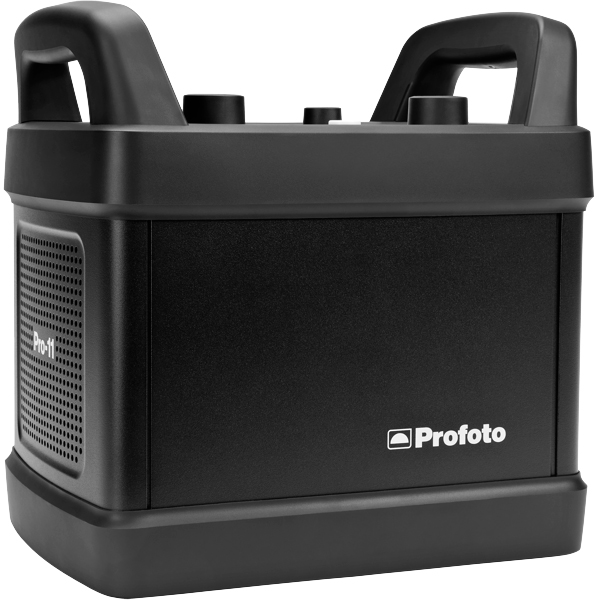
Profoto Pro 11
A top-tier 2400 Ws studio generator offering ultra-fast flash durations, short recycle times, and exceptional color consistency. Features wireless control and AirX connectivity for remote operation.
Why it’s used: Delivers unmatched speed, power, and reliability for high-end fashion, beauty, and commercial shoots where precision and performance are critical.
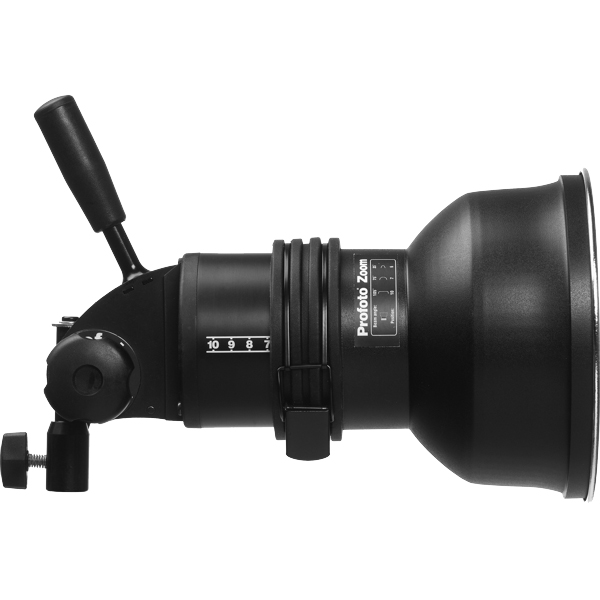
Profoto ProHead
A high-performance flash head designed for use with Profoto’s Pro-series generators. Built for durability, fast recycling, and consistent color output, even at high power.
Why it’s used: Delivers powerful, reliable lighting for demanding studio and location work, supporting a wide range of Profoto modifiers for maximum creative control.
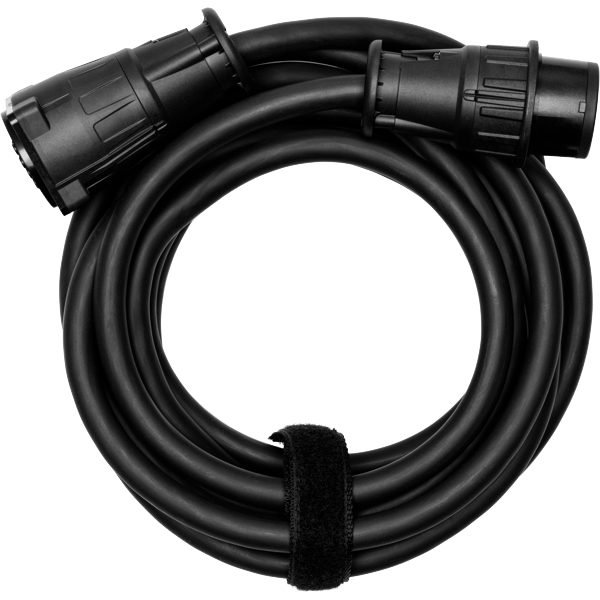
Profoto Extension Cable
A heavy-duty cable that extends the distance between a Profoto generator and its flash head. Designed to handle high power loads without loss of performance.
Why it’s used: Provides flexibility in light placement on large sets or challenging locations, allowing equipment to be positioned safely and creatively without being limited by generator proximity.
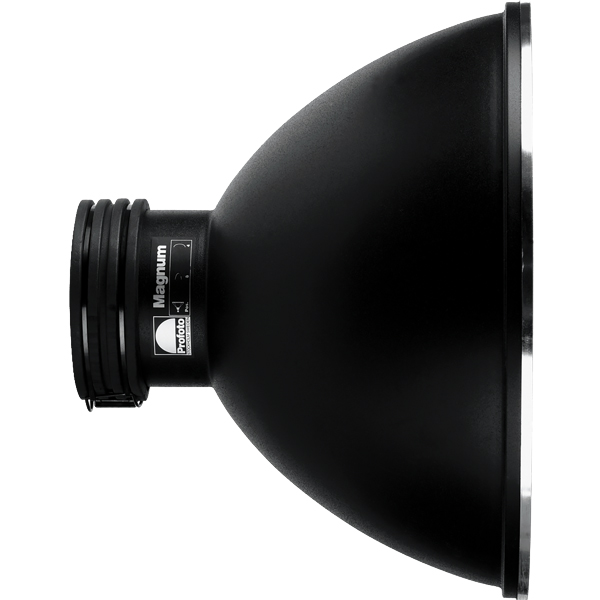
Profoto Magnum Reflector
A high-output hard light modifier that boosts a flash head’s efficiency, delivering a bright, focused beam with smooth fall-off.
Why it’s used: Increases light intensity while maintaining quality, making it ideal for long-distance lighting, simulating sunlight, or adding crisp, punchy highlights in fashion and beauty work.
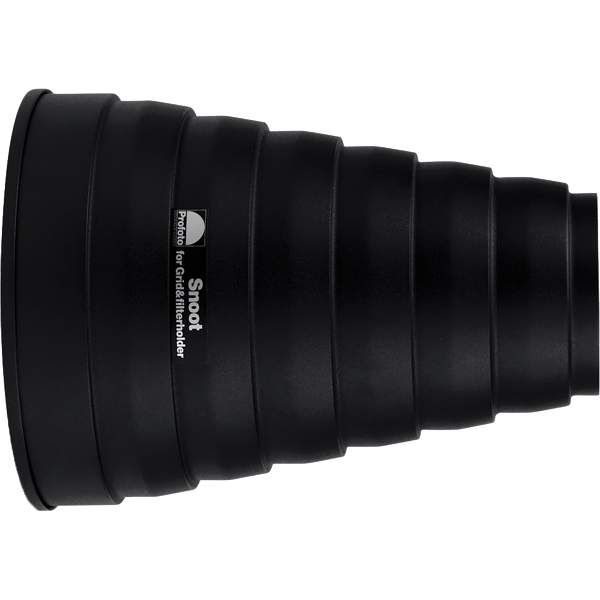
Profoto Snoot
A conical light modifier that narrows a flash head’s beam into a tight, focused spot. Easily attaches to Profoto heads for quick setup.
Why it’s used: Creates a concentrated beam for highlighting specific areas, adding accents, or producing dramatic lighting effects with strong contrast and minimal spill.
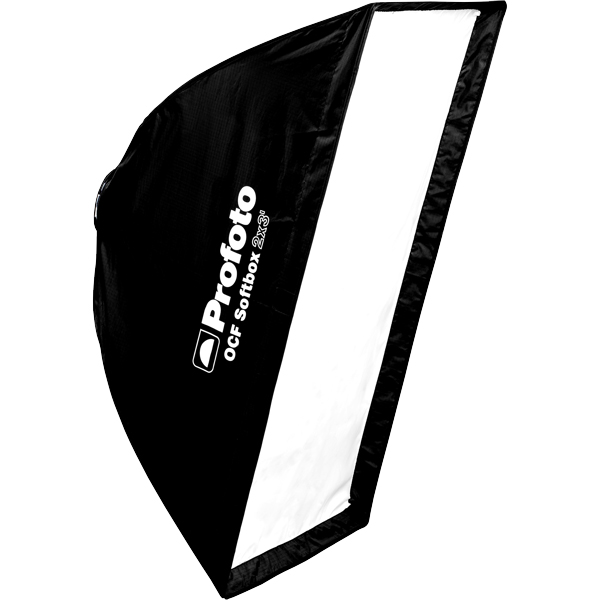
Profoto Softbox 2x3"(60x90cm)
A medium rectangular softbox measuring 60×90 cm, compatible with Profoto flashes. Produces soft, even light with defined yet gentle shadows.
Why it’s used: Versatile for portraits, beauty, and fashion photography, offering a balance between softness and directional control in both studio and location setups.
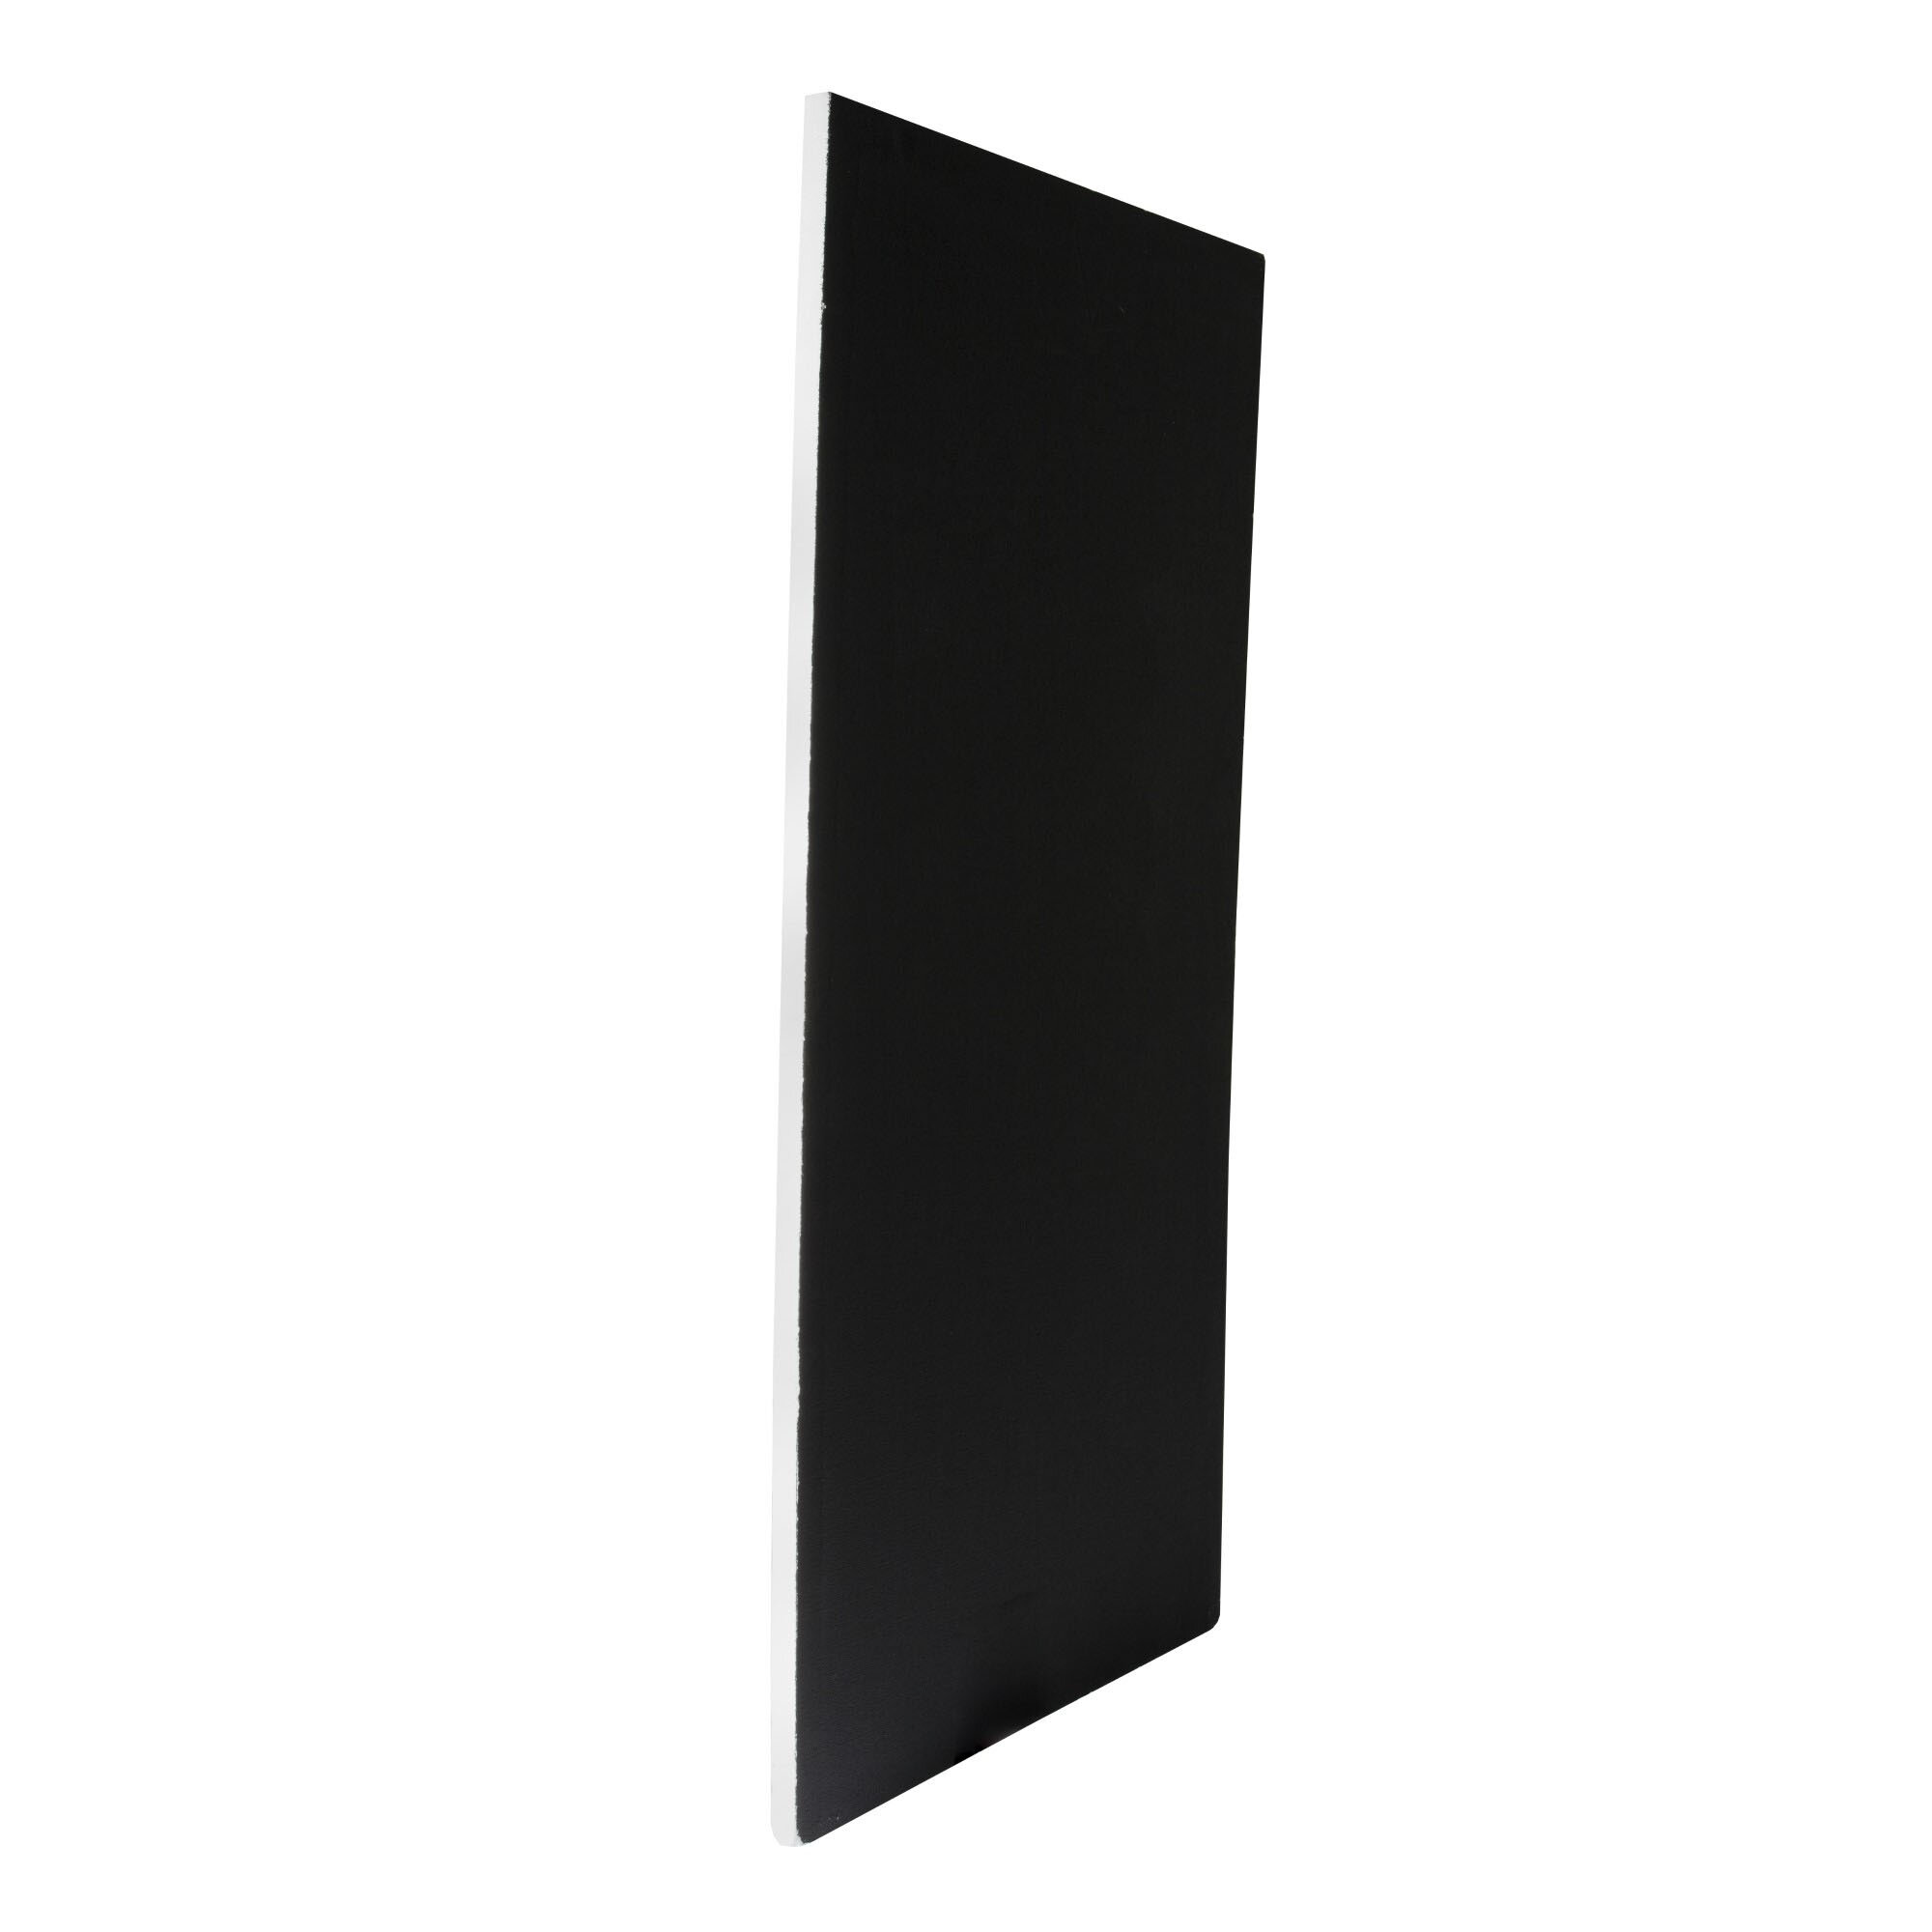
Poly Board Black Large
A large, rigid panel made from black foam core or similar material, used to block or absorb light. Typically lightweight but sturdy enough for repeated use on set.
Why it’s used: Reduces light spill, deepens shadows, and increases contrast by preventing unwanted reflections. Commonly used in pairs to create controlled, moody lighting setups.
Poly Board White Large
A large, rigid panel made from white foam core or similar material, used to reflect light. Lightweight and easy to position around the set.
Why it’s used: Bounces light back onto the subject to fill in shadows, soften contrast, and create a more even, flattering illumination.
A large, rigid panel made from white foam core or similar material, used to reflect light. Lightweight and easy to position around the set.
Why it’s used: Bounces light back onto the subject to fill in shadows, soften contrast, and create a more even, flattering illumination.
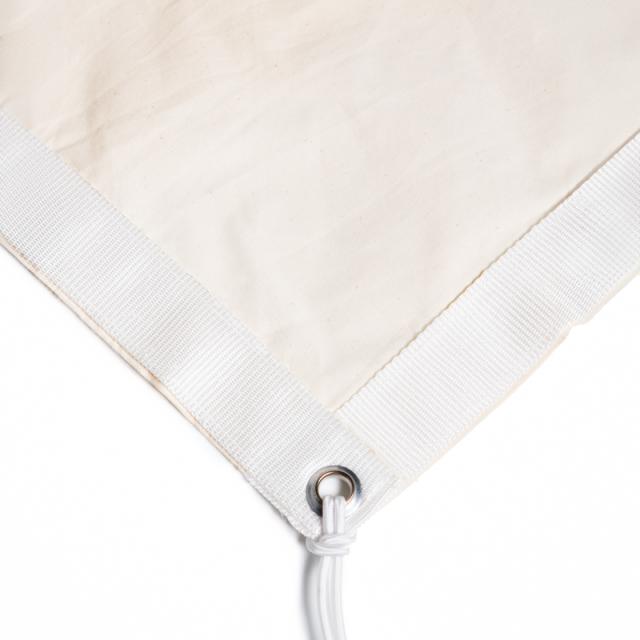
Bleached Muslin
A tightly woven, white cotton fabric treated to remove natural color, resulting in a neutral white tone. Often mounted on frames as a diffusion or bounce surface.
Why it’s used: Softens and diffuses light with a natural, even quality, or reflects a clean, neutral light onto the subject — ideal for achieving a gentle, organic look on set.
Get your full EQ list here

Project Intro
The goal of this setup is to create beauty lighting that feels contemporary and edgy, with a playful touch that adds character and energy to the images.
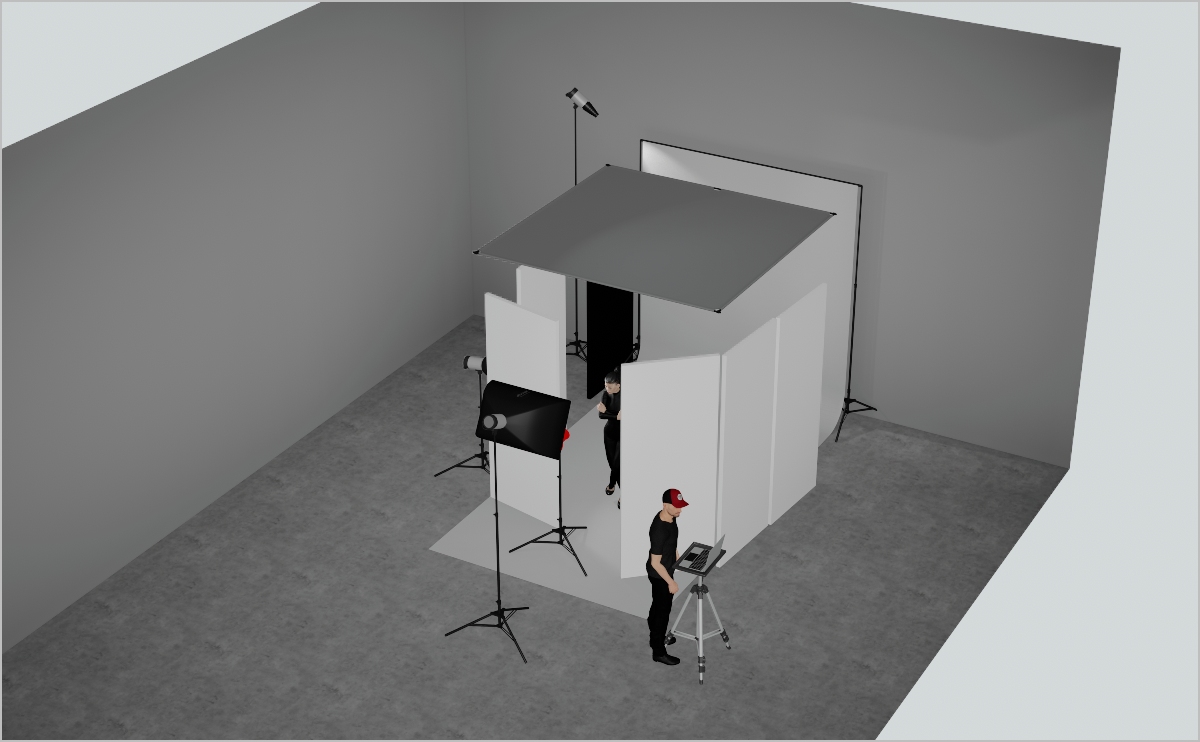
STEP 1
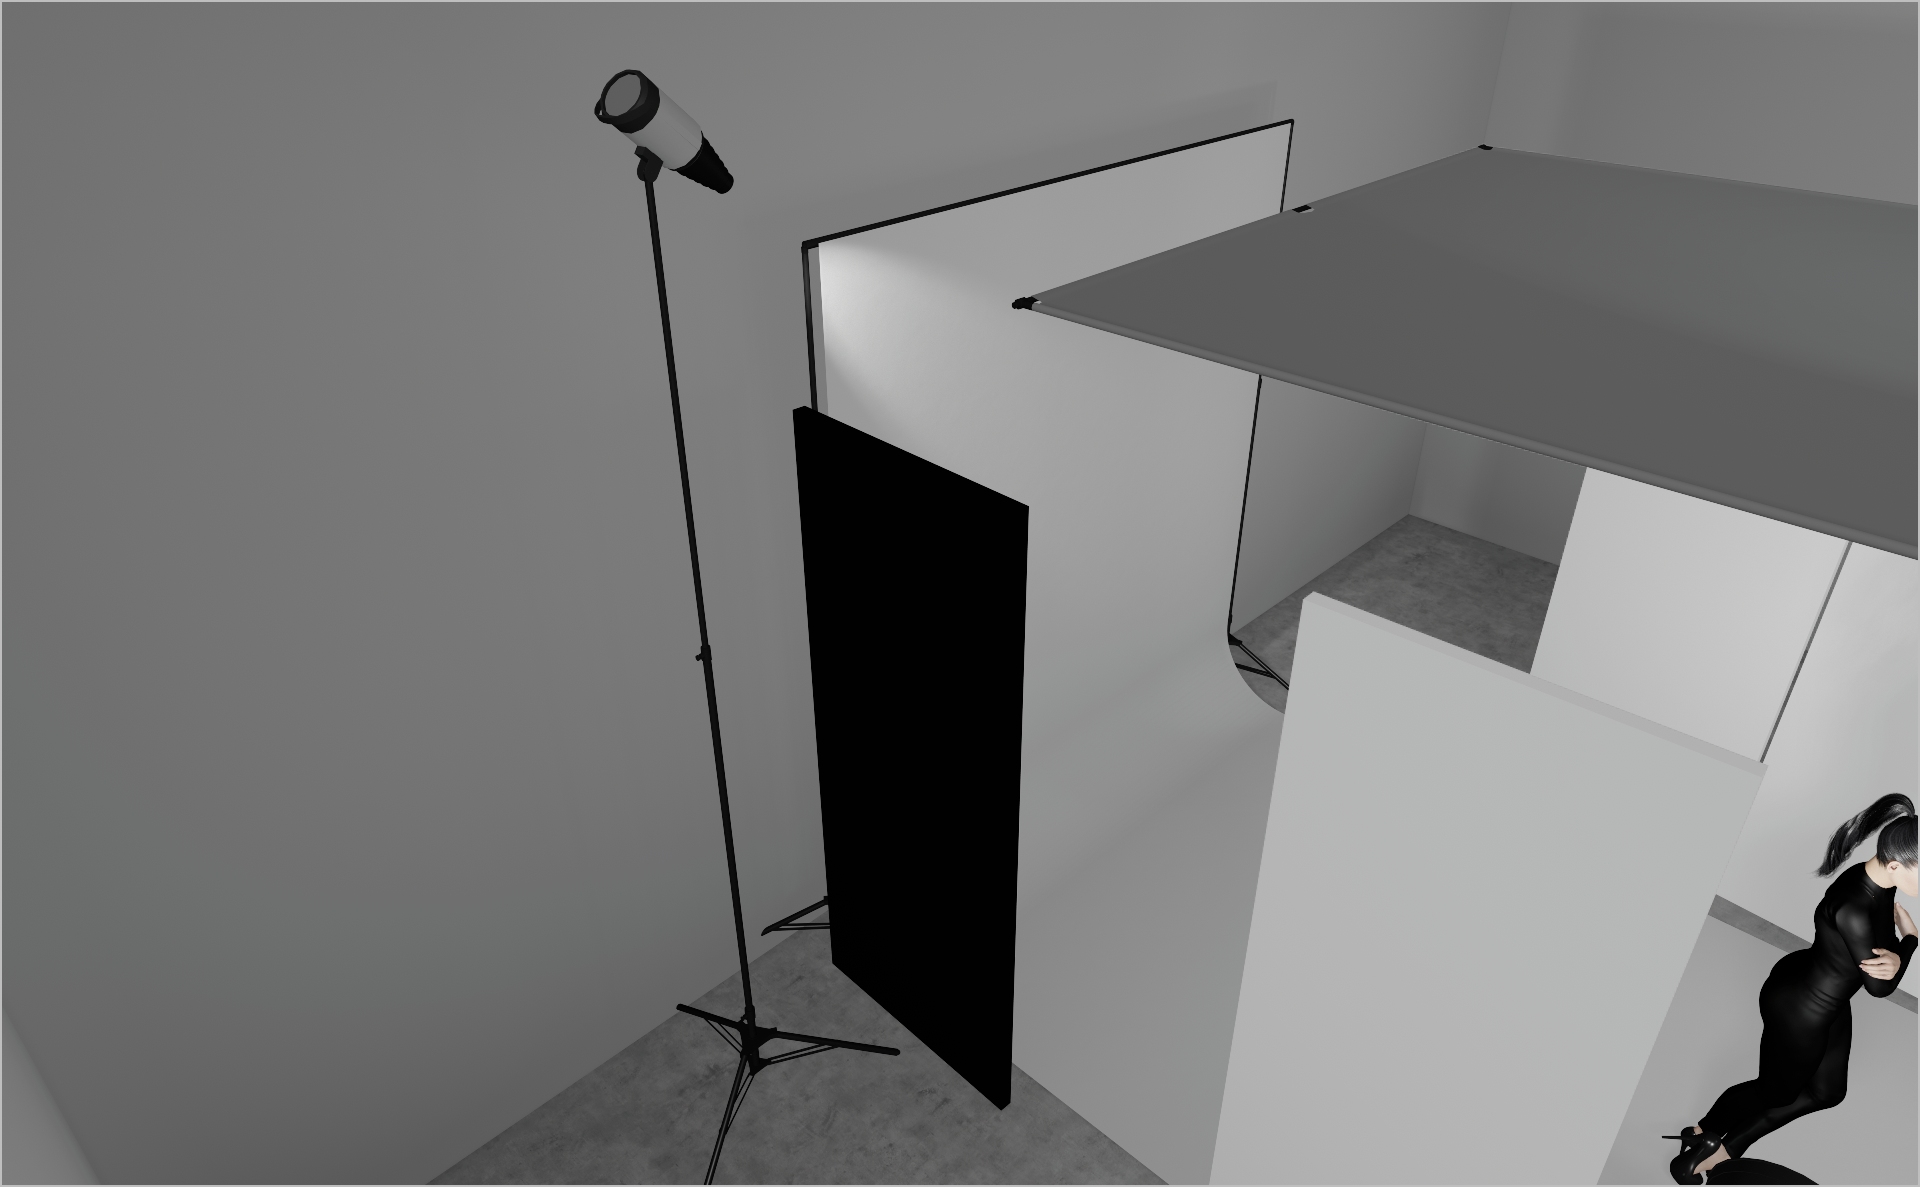
- Set up an 8×8 frame overhead with bleached muslin fabric as your “ceiling” to softly bounce light around the set.
- Position five white polyboards around the perimeter (as shown in the 3D render) to further reflect light evenly and lift unwanted shadows.
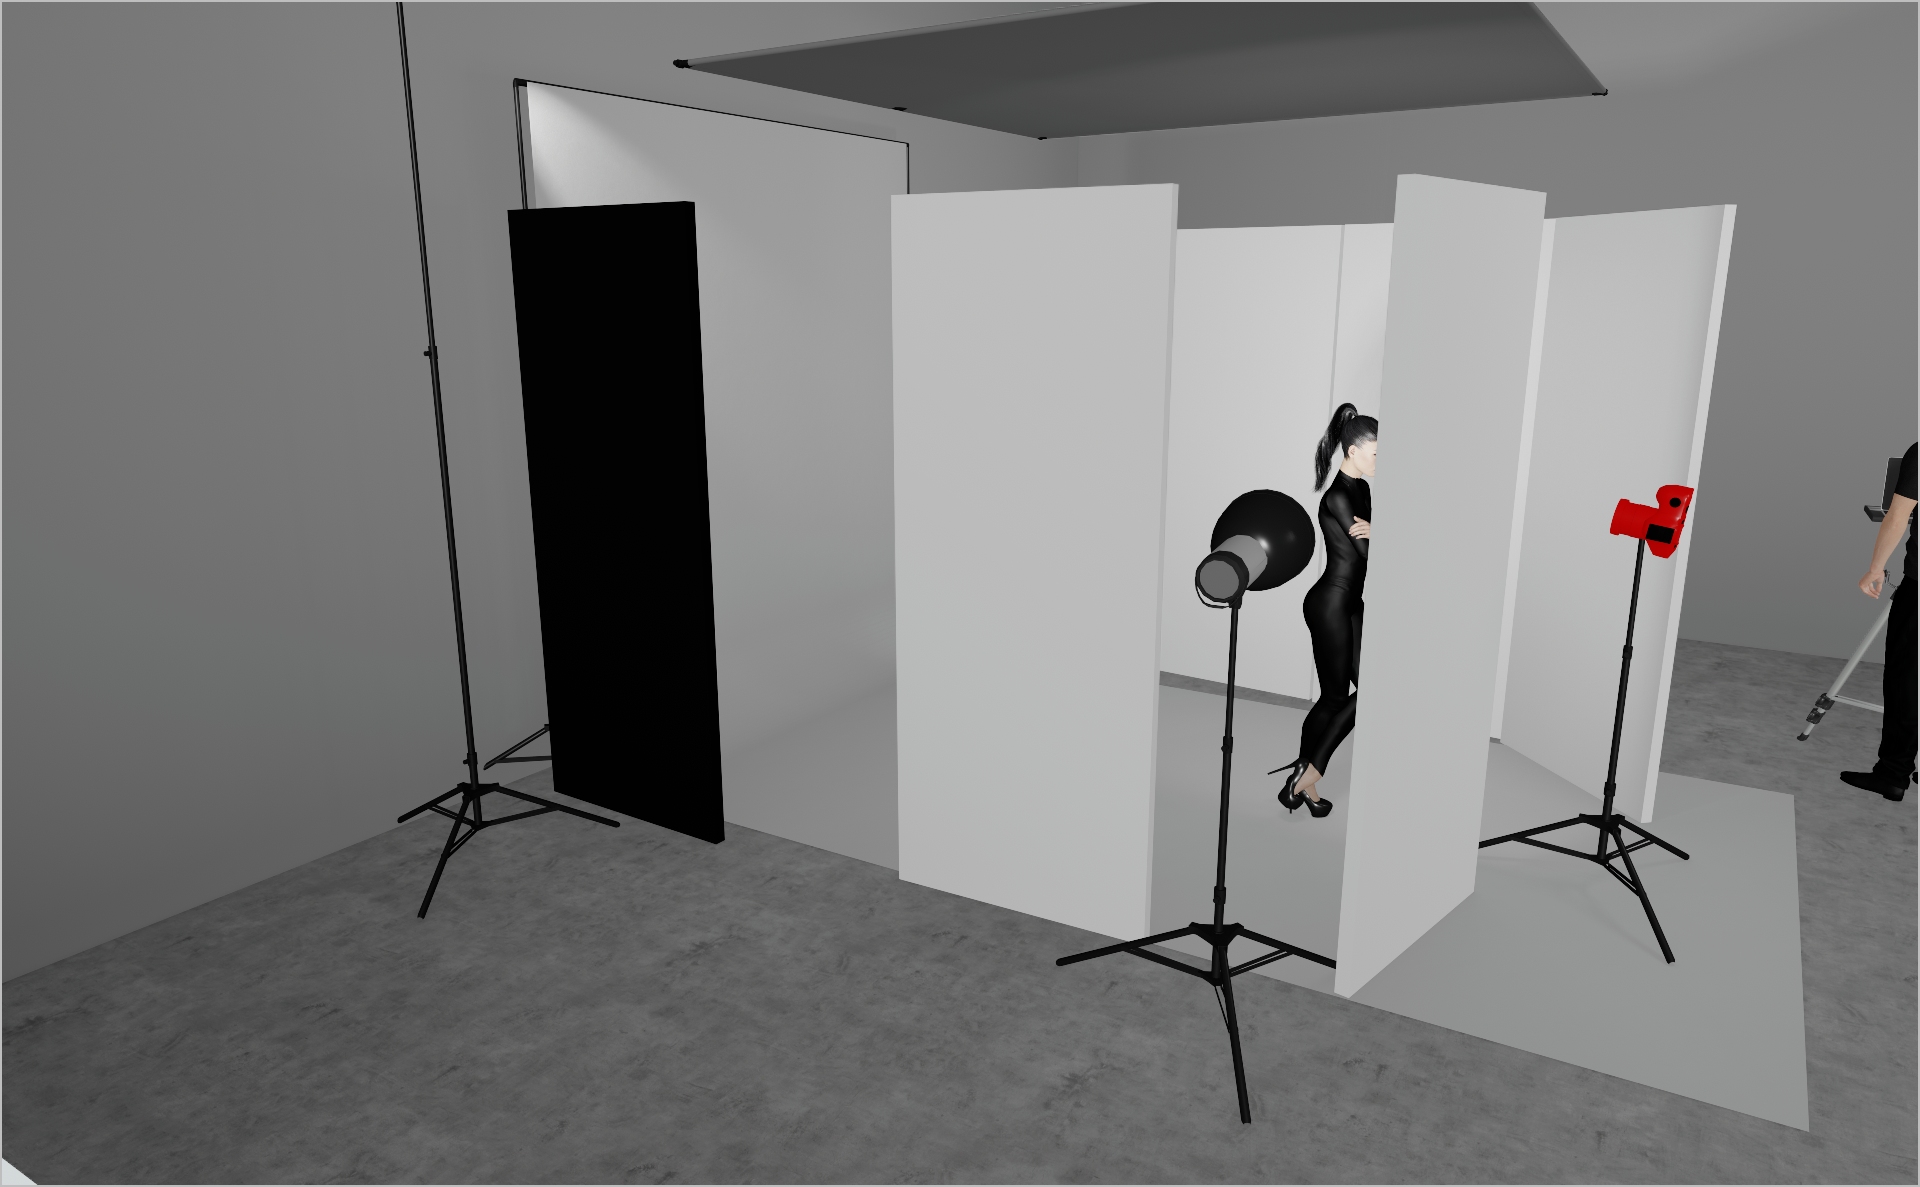
STEP 2
- Mount a Profoto ProHead with Magnum reflector at the height of the models head on the left, aiming it sideways at her face for a rather dramatic look.
- This placement also bounces light into the set, which the white polyboards then spread to fill shadows.
- Start at Power 6.0 and tweak as needed.
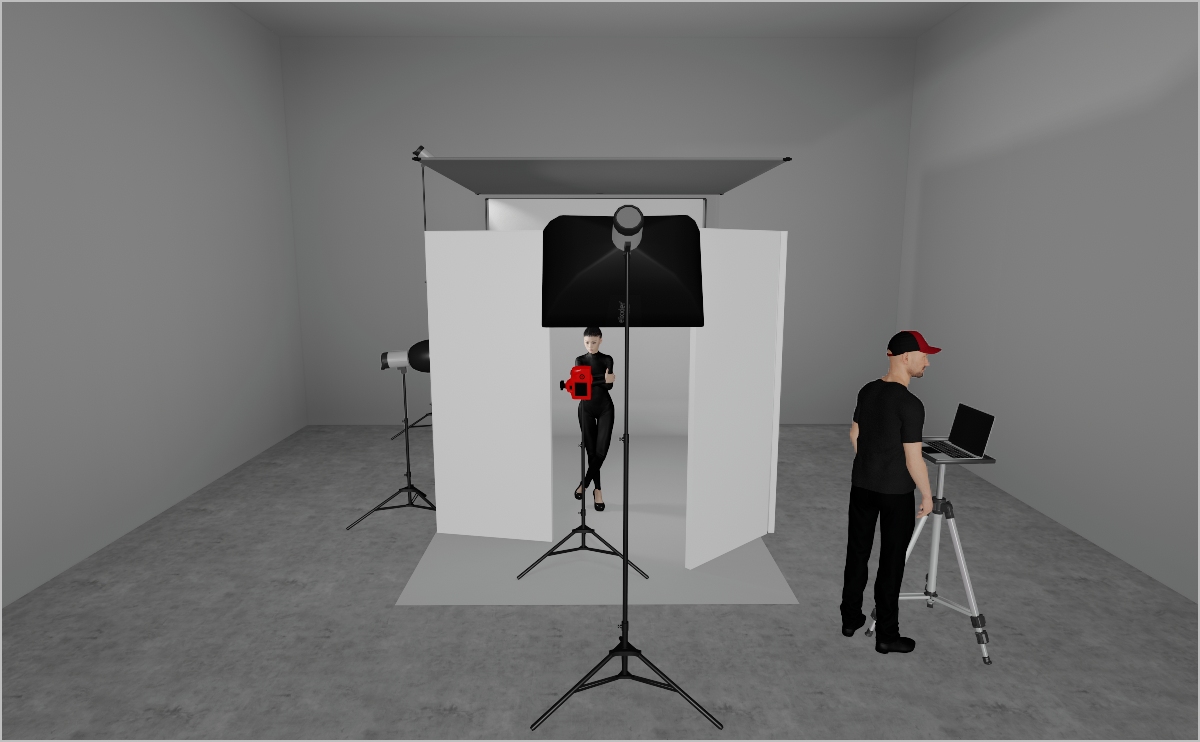
STEP 3
- Mount a Profoto 2×3 Softbox behind the camera, angled directly at the model to lift remaining shadows.
- Start at Power 3.0 and tweak to suit your scene.
STEP 4
- Mount a Profoto Snoot reflector on a ProHead and aim it at your backdrop for a playful accent. Just for fun and however you like it!
- Start at Power 6.0 and tweak to taste.
- Camera Settings: 1/160 s, f/11, ISO 160 – adjust for your environment.
Credits
- Photographer: Per Appelgren c/o SCHIERKE.HOTTAS
- Light Operator: Liam Mulligan
- Post Production: Colorworkz
- Hair Make-Up: Katja Maaßen
- Model: Nikita c/o Mirrrs Models
- Digi Tech: Nina Petrova
- Studio: Meta Studio Berlin
PROJECT DETAILS
CRAFTING THE LIGHT
Project Intro
The goal of this setup is to create beauty lighting that feels contemporary and edgy, with a playful touch that adds character and energy to the images.
BEFORE AND AFTER
Transformation made visible.
STEP 1
- Set up an 8×8 frame overhead with bleached muslin fabric as your “ceiling” to softly bounce light around the set.
- Position five white polyboards around the perimeter (as shown in the 3D render) to further reflect light evenly and lift unwanted shadows.
STEP 2
- Mount a Profoto ProHead with Magnum reflector at the height of the models head on the left, aiming it sideways at her face for a rather dramatic look.
- This placement also bounces light into the set, which the white polyboards then spread to fill shadows.
- Start at Power 6.0 and tweak as needed.
STEP 3
- Mount a Profoto 2×3 Softbox behind the camera, angled directly at the model to lift remaining shadows.
- Start at Power 3.0 and tweak to suit your scene.
STEP 4
- Mount a Profoto Snoot reflector on a ProHead and aim it at your backdrop for a playful accent. Just for fun and however you like it!
- Start at Power 6.0 and tweak to taste.
- Camera Settings: 1/160 s, f/11, ISO 160 – adjust for your environment.
BEFORE AND AFTER
A closer look at professional environments.
TOOLS
Equipment List
Profoto Air Remote
A wireless transmitter that mounts on the camera’s hot shoe to control Profoto lights remotely. Supports TTL, manual power adjustment, and high-speed sync. Why it’s used: Enables precise, cable-free control of flash settings from the camera position, streamlining workflow and allowing quick lighting adjustments during a shoot.

A wireless transmitter that mounts on the camera’s hot shoe to control Profoto lights remotely. Supports TTL, manual power adjustment, and high-speed sync. Why it’s used: Enables precise, cable-free control of flash settings from the camera position, streamlining workflow and allowing quick lighting adjustments during a shoot.
Profoto Pro 11
A top-tier 2400 Ws studio generator offering ultra-fast flash durations, short recycle times, and exceptional color consistency. Features wireless control and AirX connectivity for remote operation.
Why it’s used: Delivers unmatched speed, power, and reliability for high-end fashion, beauty, and commercial shoots where precision and performance are critical.
A top-tier 2400 Ws studio generator offering ultra-fast flash durations, short recycle times, and exceptional color consistency. Features wireless control and AirX connectivity for remote operation.
Why it’s used: Delivers unmatched speed, power, and reliability for high-end fashion, beauty, and commercial shoots where precision and performance are critical.
Profoto ProHead
A high-performance flash head designed for use with Profoto’s Pro-series generators. Built for durability, fast recycling, and consistent color output, even at high power.
Why it’s used: Delivers powerful, reliable lighting for demanding studio and location work, supporting a wide range of Profoto modifiers for maximum creative control.
A high-performance flash head designed for use with Profoto’s Pro-series generators. Built for durability, fast recycling, and consistent color output, even at high power.
Why it’s used: Delivers powerful, reliable lighting for demanding studio and location work, supporting a wide range of Profoto modifiers for maximum creative control.
Profoto Extension Cable
A heavy-duty cable that extends the distance between a Profoto generator and its flash head. Designed to handle high power loads without loss of performance.
Why it’s used: Provides flexibility in light placement on large sets or challenging locations, allowing equipment to be positioned safely and creatively without being limited by generator proximity.
A heavy-duty cable that extends the distance between a Profoto generator and its flash head. Designed to handle high power loads without loss of performance.
Why it’s used: Provides flexibility in light placement on large sets or challenging locations, allowing equipment to be positioned safely and creatively without being limited by generator proximity.
Profoto Magnum Reflector
A high-output hard light modifier that boosts a flash head’s efficiency, delivering a bright, focused beam with smooth fall-off.
Why it’s used: Increases light intensity while maintaining quality, making it ideal for long-distance lighting, simulating sunlight, or adding crisp, punchy highlights in fashion and beauty work.
A high-output hard light modifier that boosts a flash head’s efficiency, delivering a bright, focused beam with smooth fall-off.
Why it’s used: Increases light intensity while maintaining quality, making it ideal for long-distance lighting, simulating sunlight, or adding crisp, punchy highlights in fashion and beauty work.
Profoto Snoot
A conical light modifier that narrows a flash head’s beam into a tight, focused spot. Easily attaches to Profoto heads for quick setup.
Why it’s used: Creates a concentrated beam for highlighting specific areas, adding accents, or producing dramatic lighting effects with strong contrast and minimal spill.
A conical light modifier that narrows a flash head’s beam into a tight, focused spot. Easily attaches to Profoto heads for quick setup.
Why it’s used: Creates a concentrated beam for highlighting specific areas, adding accents, or producing dramatic lighting effects with strong contrast and minimal spill.
Profoto Softbox 2x3"(60x90cm)
A medium rectangular softbox measuring 60×90 cm, compatible with Profoto flashes. Produces soft, even light with defined yet gentle shadows.
Why it’s used: Versatile for portraits, beauty, and fashion photography, offering a balance between softness and directional control in both studio and location setups.
Poly Board Black Large
A large, rigid panel made from black foam core or similar material, used to block or absorb light. Typically lightweight but sturdy enough for repeated use on set.
Why it’s used: Reduces light spill, deepens shadows, and increases contrast by preventing unwanted reflections. Commonly used in pairs to create controlled, moody lighting setups.
A large, rigid panel made from black foam core or similar material, used to block or absorb light. Typically lightweight but sturdy enough for repeated use on set.
Why it’s used: Reduces light spill, deepens shadows, and increases contrast by preventing unwanted reflections. Commonly used in pairs to create controlled, moody lighting setups.
Poly Board White Large
A large, rigid panel made from white foam core or similar material, used to reflect light. Lightweight and easy to position around the set.
Why it’s used: Bounces light back onto the subject to fill in shadows, soften contrast, and create a more even, flattering illumination.
A large, rigid panel made from white foam core or similar material, used to reflect light. Lightweight and easy to position around the set.
Why it’s used: Bounces light back onto the subject to fill in shadows, soften contrast, and create a more even, flattering illumination.
Bleached Muslin
A tightly woven, white cotton fabric treated to remove natural color, resulting in a neutral white tone. Often mounted on frames as a diffusion or bounce surface.
Why it’s used: Softens and diffuses light with a natural, even quality, or reflects a clean, neutral light onto the subject — ideal for achieving a gentle, organic look on set.
A tightly woven, white cotton fabric treated to remove natural color, resulting in a neutral white tone. Often mounted on frames as a diffusion or bounce surface.
Why it’s used: Softens and diffuses light with a natural, even quality, or reflects a clean, neutral light onto the subject — ideal for achieving a gentle, organic look on set.
Here you´ll find everything to elevate your career
UNLOCKED
Capture One Styles
MEMBER-EXCLUSIVE OFFERING
Mentoring
Rotate your device to see the content